
If you have a love for bottled beer and DIY projects, then making a beer bottle cap table is likely going to be right up your alley. It’s functional, unique and a fairly easy project if you know what you’re doing.
While there are several different ways to go about making a bottle cap-filled table, most of the steps to create this one-of-a-kind work of art follow a similar process.
First, let’s gather supplies.
What You’ll Need
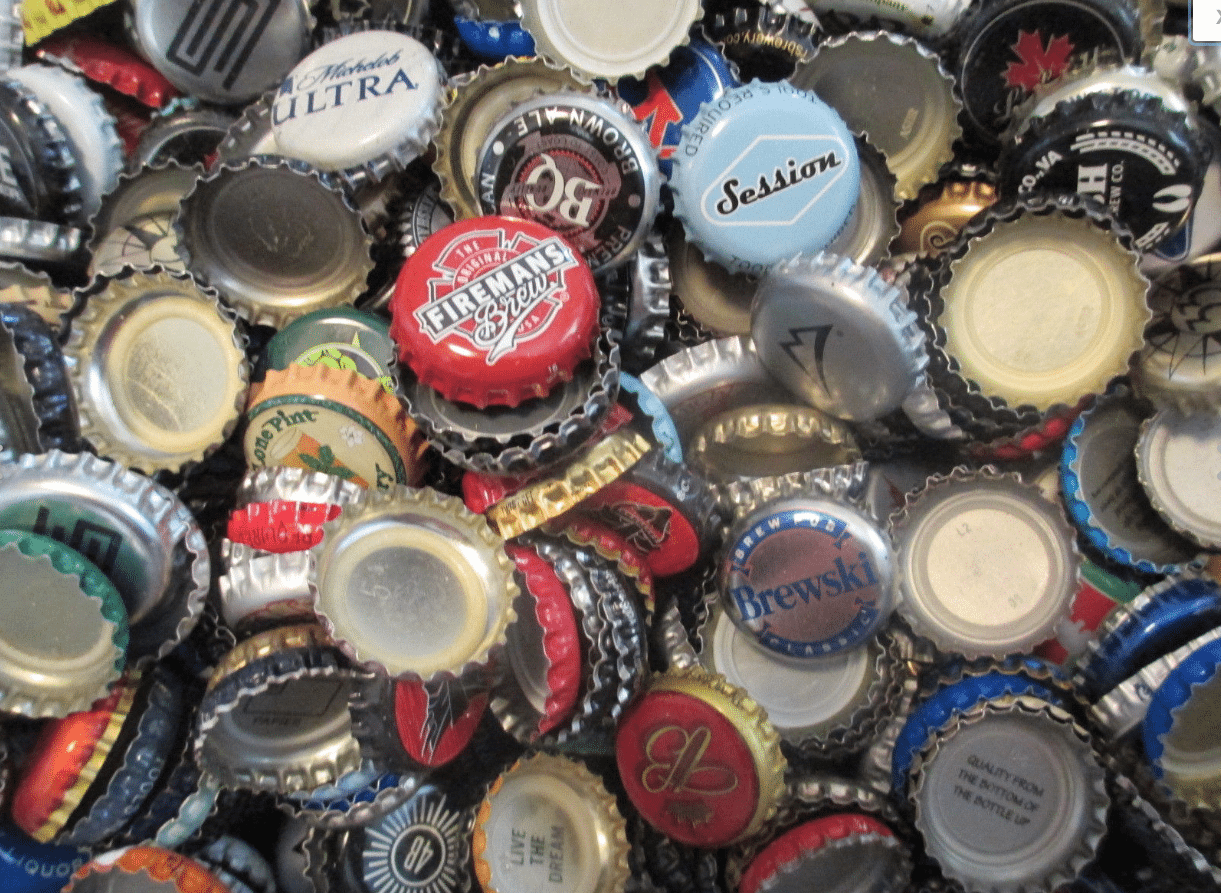
Flat Bottle Caps
If you don’t already have a collection, you can find bottle caps for sale on sites such as eBay. Just make sure they’re flat. Caps that are bent from a bottle opener won’t work for this project.
A Table
A table that has a solid surface is ideal. Or if you already have a table base, you can buy an unfinished top for this project. Tops are available at hardware stores or on Amazon. If you live close to an IKEA, you also might want to check out their selection of affordable tables.
Glue
I’ve always used E6000 for just about everything and it’s always done the trick. The great thing about this glue is that is bonds to just about everything, including metal, cement, rubber and fabric. Plus, it dries clear.
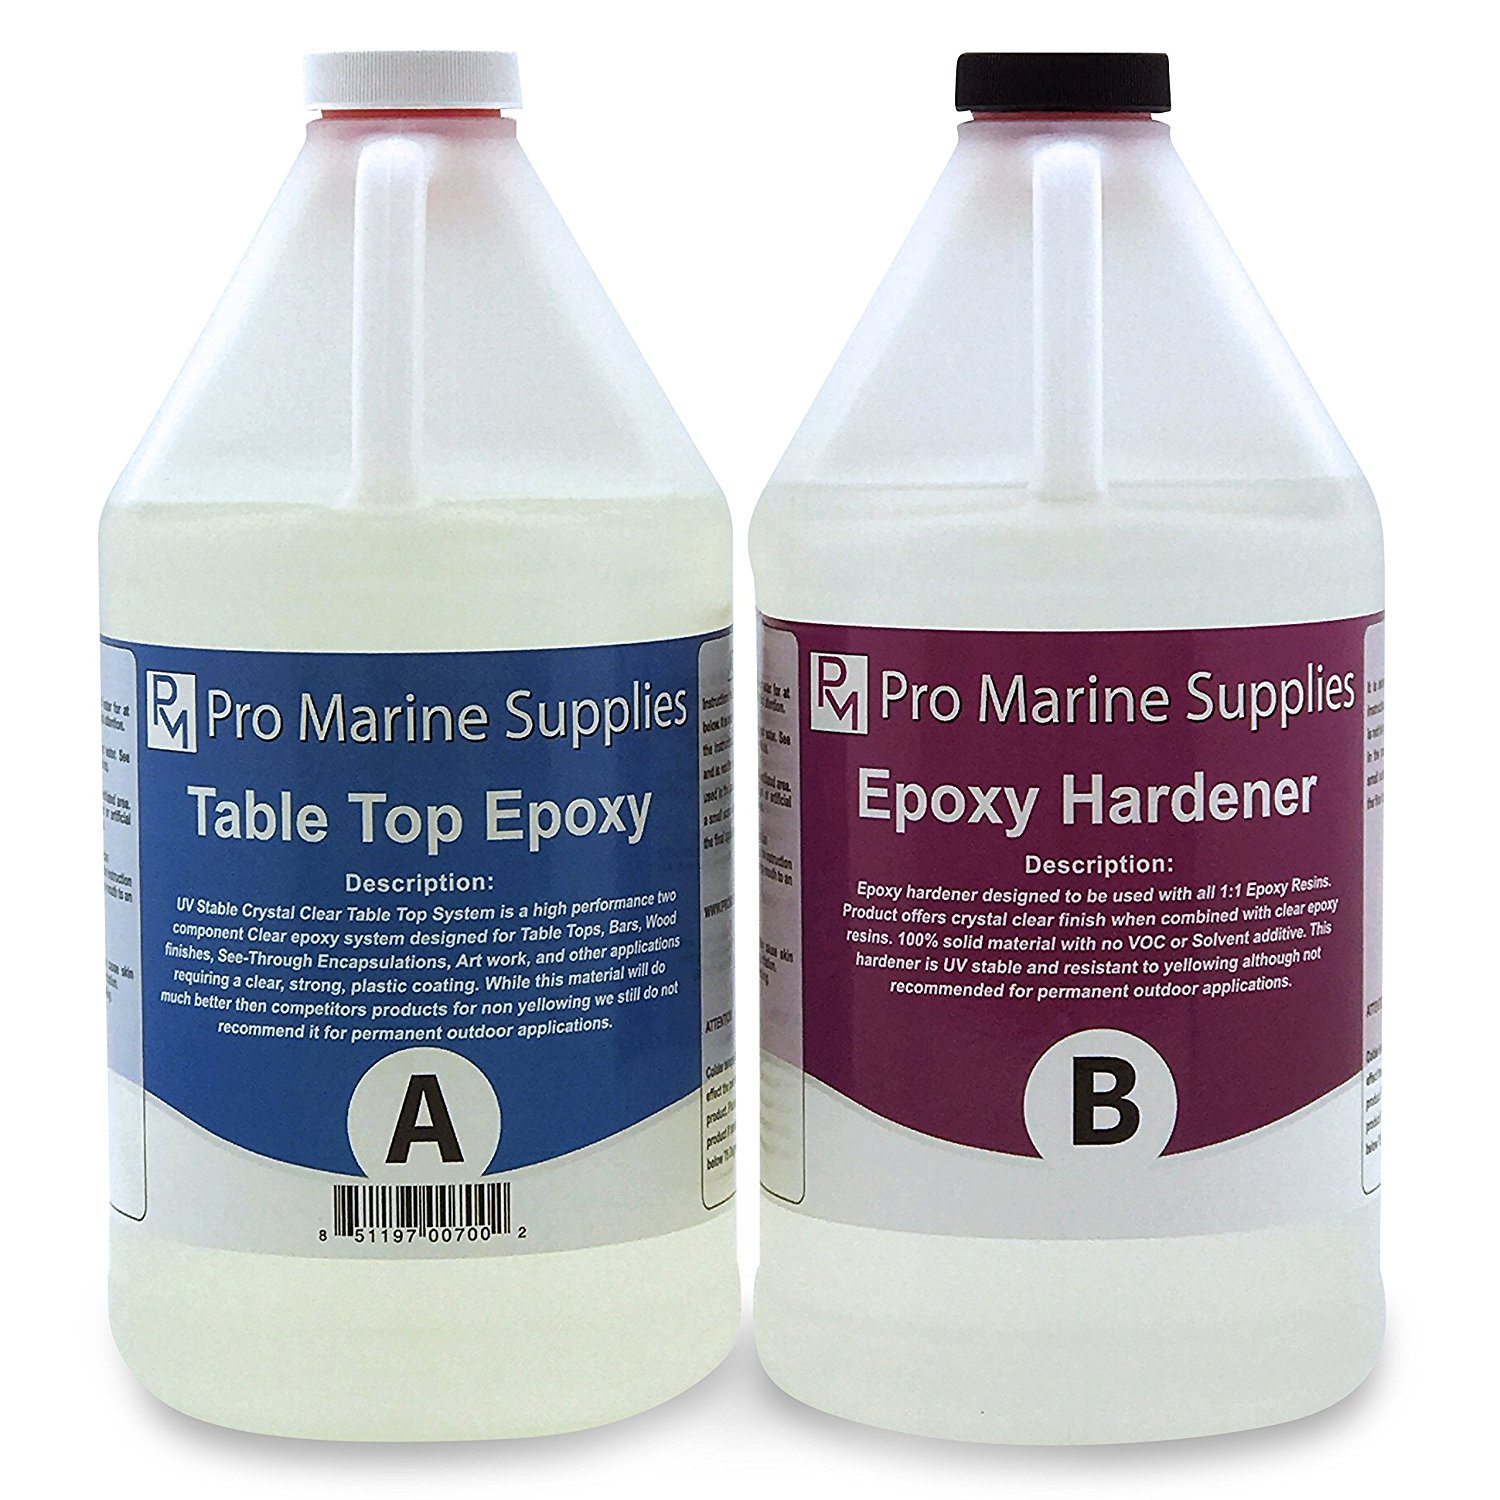
Epoxy Resin
Regardless of how you go about the process of making a beer bottle cap table, you’re going to want to pick up some epoxy to help keep your hard work in place while giving it a smooth finish.
A Float
This will help make sure the epoxy spreads evenly once it’s poured.
How To Make It
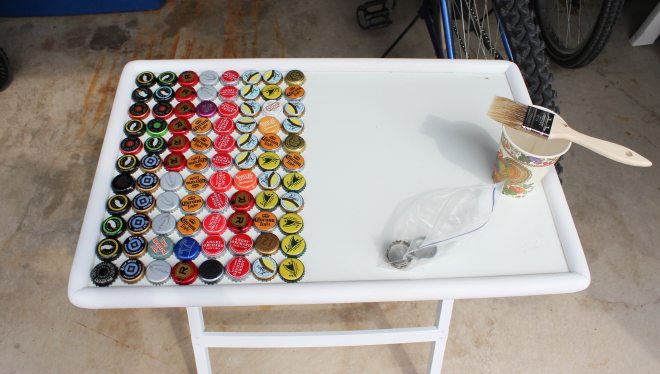
Make sure your beer bottle caps are clean and dry, then start laying them out on the surface of the table you plan to glue them on. It’s important not to skip this step because you want to make sure you have the bottle caps arranged without any weird gaps between them.
Once you’ve figured out a pattern you like and everything fits nicely on the surface of the tabletop, it’s time to glue the beer bottle caps in place using the E6000 glue. Again, you can use any type of glue you’d like as long as it’s all purpose and bonds to both wood and metal.
There are several ways you can go about the order in which you glue the caps down. Depending on the shape of your table, you can start gluing on one side and work your way across, or you can start around the perimeter and work your way towards the middle.
It’s totally up to you! This blogger started gluing down bottle caps working from side to side:
After you have all the bottle caps glued down, make sure you allow the glue to dry for at least 24 hours.
The next step is to pour the epoxy evenly over the beer bottle caps. Epoxy is the clear coat you see on most of these types of tables. It comes in two parts and it’s important that you follow the instructions that are included with the epoxy, because each brand will differ slightly as to the ratio of the Epoxy Surface Resin versus the Epoxy Hardener.
A few tips from my experience using epoxy: Make sure you use it in a well ventilated area. Also, it can become quite messy, especially if it’s running over the edge of a table, so make sure you put some sort of floor protector down, such as a plastic tarp.
You could also wrap the perimeter of your working surface with something like tin foil. The website Instructables gives a great example of how this can be done.
To ensure all of the gaps in between the bottle caps are filled, use a float to spread the epoxy evenly over the top of the table. This video on You Tube shows you how to use a float for this project:
Once all of the resin has been poured, allow the tabletop to cure for 24–48 hours, and then it’s done!
Pretty cool, right?
You Don’t Have To Feel Limited To Bottle Caps!
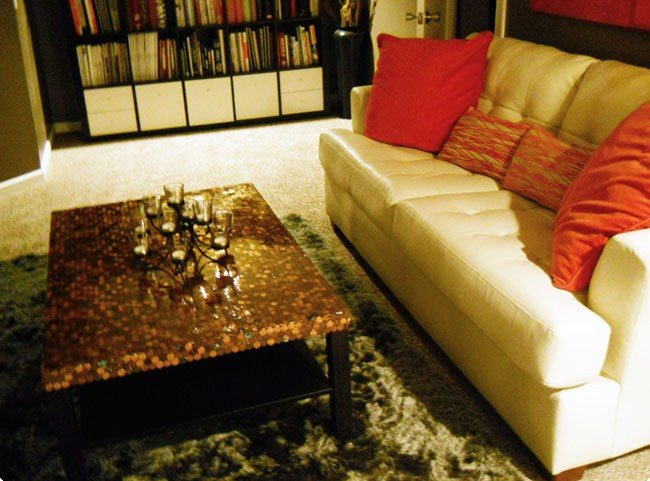
If you like the concept of creating a unique table, but beer bottle caps aren’t your thing, you can use coins. I’ve personally covered an entire table top with pennies, and I loved how it turned out! The process is pretty much the same.

When people see my table, they inevitably ask: How much time did it take, and how much did it cost?
It took about a week to complete, but that’s because I didn’t work on it every day, though I did enlist friends to help me glue the pennies down, which helped cut down on the time I had to spend gluing solo.
As for cost, I used roughly 2,700 pennies, and the table is the Lack Coffee Table from IKEA, which I purchased for $19.99. Between that and the other supplies needed, it set me back about $75, which isn’t a bad price for a unique piece of functional art!
Feeling inspired yet?
This story originally appeared on Simplemost. Checkout Simplemost for other great tips and ideas to make the most out of life.
